
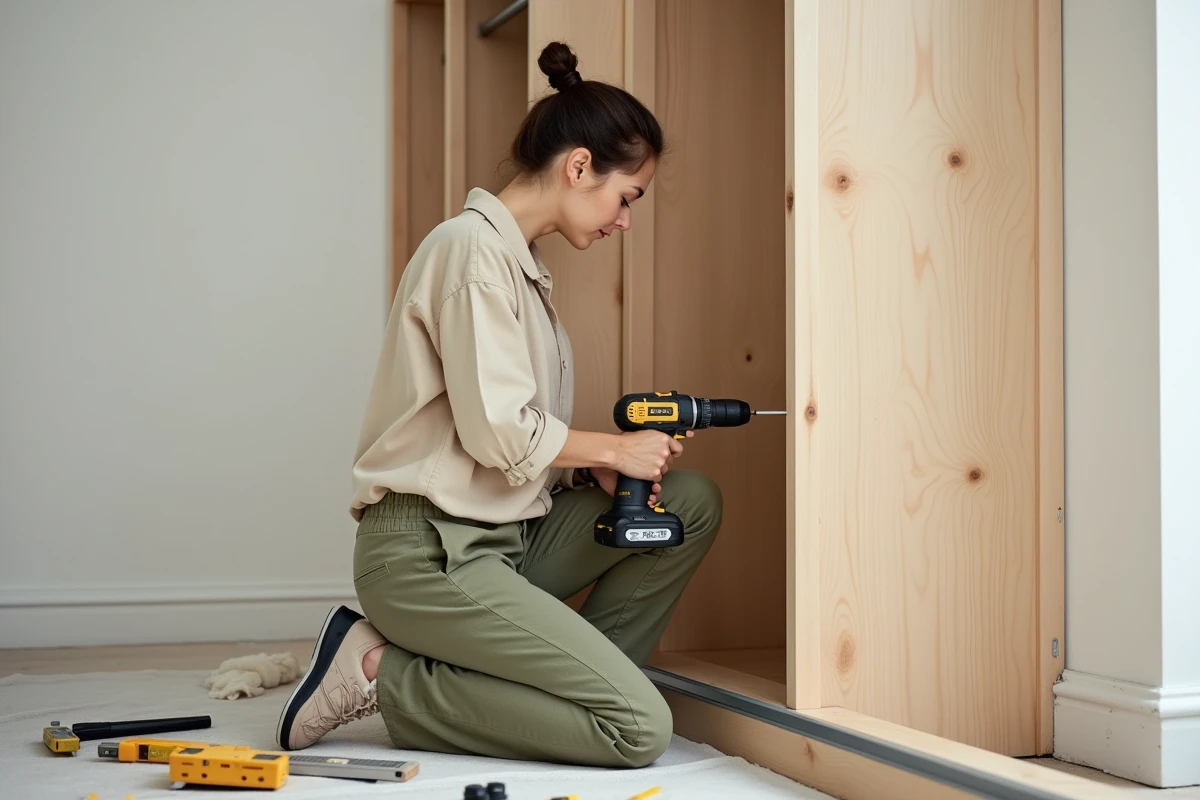
Fixing a dressing side correctly determines the stability of the entire structure. A misaligned or insufficiently anchored side causes shelf misalignment, progressive warping of the panels, and ultimately, a dressing that shifts under load. Here we address the technical points that most assembly guides overlook.
Choosing the panel and preparing the edge before fixing a dressing side
The melamine panel from large retailers remains the standard for a dressing side, but the thickness of the panel determines the fixing method. A panel that is too thin will not hold the dowels or the cam fittings. We recommend working with a panel whose thickness allows for sufficient blind drilling to accommodate a joining dowel without piercing the visible face.
See also : Everything You Need to Know About a 5-Room House: Features, Benefits, and Buying Tips
First and foremost, check the straightness of the edge along the entire height of the panel. Lay it flat on two trestles and run a mason’s rule along each long edge. A gap, even a minimal one, will result in a space between the side and the wall or ceiling once in a vertical position.
If you are working with cut melamine wood from a store, the raw edge must receive a heat-adhesive edge band before assembly. An unprotected edge absorbs ambient moisture and swells within a few months, degrading the assembly. Apply the band with an iron set to medium temperature, then trim with a retractable blade cutter, pulling in the direction of the grain to avoid chipping.
Further reading : How to Manage a Flying Insect Infestation in Your Home
To delve deeper into the installation techniques suitable for different configurations, you can consult the dedicated page on GPSO that details several common scenarios.
Wall fixing of a dressing side: anchoring and shimming
A side fixed only at the top and bottom will eventually deform under the lateral load of the shelves. The intermediate wall anchoring is the point that many flat-pack assemblies neglect. Here are the elements to check before drilling.
- Identify the nature of the wall (drywall on a rail, plasterboard, brick, concrete) with a material detector. The type of anchor directly depends on this: expansion anchor for solid walls, Molly anchor for hollow walls.
- Draw a vertical line with a laser level from the floor to the ceiling. Transfer this line onto the wall and the back edge of the side to align the drill holes.
- Plan for at least two wall fixing points along the height, spaced from the upper third and the lower third. On a drywall, add a third point in the center to distribute the load.
- Use concealed reinforcement brackets behind the side, screwed into both the panel and the wall. They remain invisible once the dressing is filled and ensure rigid support.
Tighten the wall screws gradually, alternating between top and bottom, to avoid forcing the panel into a bowed position. Check the plumb after each partial tightening.
Case of uneven walls
On a wall with a false plumb, insert hardwood shims between the bracket and the wall. Measure the gap with a ruler at several points and cut your shims to the corresponding thickness. Glue them with PU glue before screwing: the shim should never be able to slip under load.
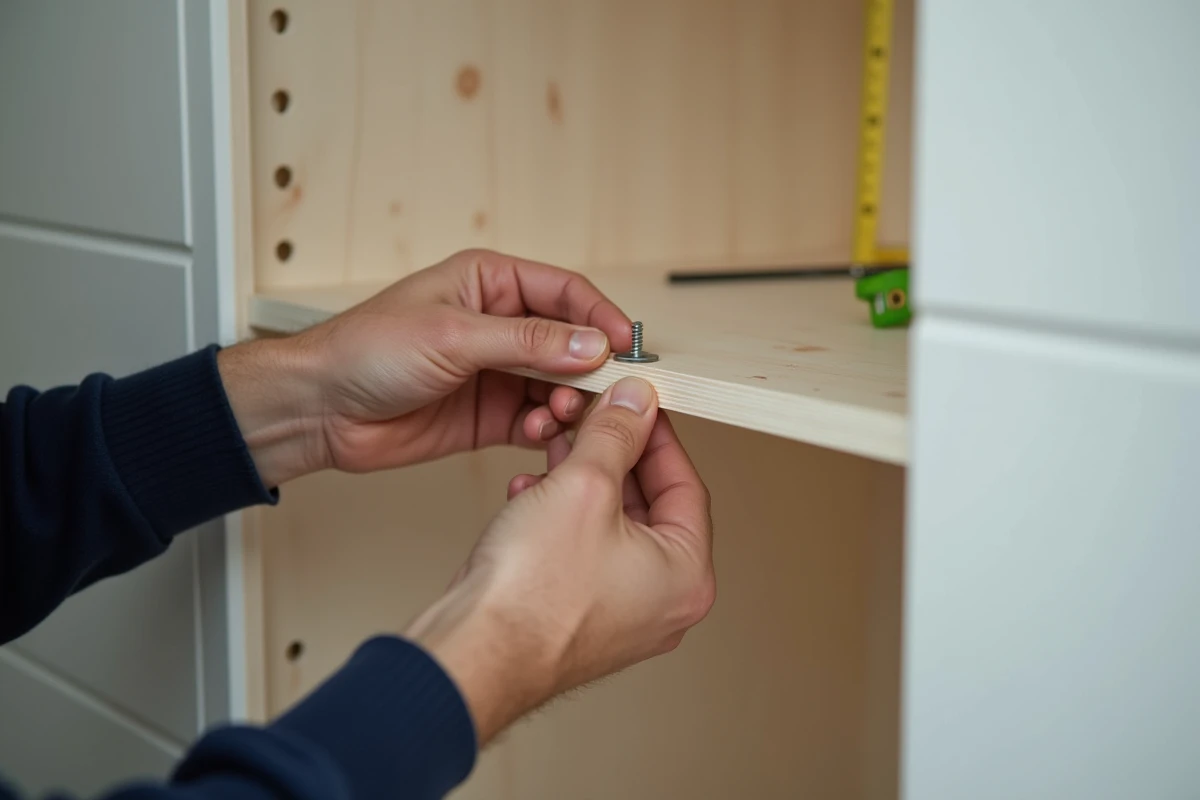
Assembly of side-shelf: cam fittings, dowels, and screws
The connection between the side and the horizontal elements (shelves, drawer bottoms, tops) determines the rigidity of the whole. The cam fitting remains the most reliable assembly for a removable dressing.
Drill the cam fittings using a Forstner bit of the exact diameter specified by the manufacturer. A hole that is too wide prevents the cam from tightening; a hole that is too narrow splits the melamine panel. Set the depth stop of the drill press or use a drilling template to ensure consistency across all sides.
For fixed shelves (those that will never be repositioned), combine dowels and wood glue. Insert two dowels per shelf, glued on the side of the side and the shelf, then tighten using dormant clamps during the curing time. This double fixing prevents any tipping, even with a heavy load of clothes.
Visible screws: when it is acceptable
On a corner dressing side (L or U configuration), the inner face of the side is often hidden by clothes. In this case, screws with a countersunk head of appropriate length are sufficient, provided you pre-drill and countersink properly so that the head is flush with the panel. Place a cover cap matching the color of the melamine for a clean result.
Final adjustment and rechecking plumb along the entire height of the dressing
Once the side is fixed to the wall and assembled with the horizontal elements, the final adjustment is crucial. Place the level on the front face of the side, then on the top edge. A plumb gap at the top affects every shelf: items slide, drawers no longer roll straight.
If the side rests on the floor, insert adjustable jacks or adjustable pads under the panel. Turn them gradually until achieving perfect plumb. On an uneven floor (old tiles, wavy floating floor), this step may require several back-and-forth adjustments between the lower jack and the upper wall fixing.
Finish by checking that the sliding or hinged doors (if planned) open without rubbing against the side. A gap of a few millimeters between the rail and the side prevents premature wear of the melamine coating and unwanted noise with each opening. If the rail is already installed and the gap is insufficient, adjust the wall shimming rather than planing the side, as planing exposes the core of the particleboard and accelerates its degradation.